Integrating WalletConnect with Vue.js Project on Conflux eSpace
This tutorial guides you through the process of integrating WalletConnect with Web3Modal in a Vue.js project, specifically targeting the Conflux eSpace network. For a hands-on example, check out the GitHub repository Web3modal-Conflux-Vue.
前提条件
- Node.js installed on your computer.
- Basic knowledge of Vue.js and JavaScript.
Step 1: Setting Up Your Vue.js Project
First, create a new Vue.js project using Vite, you can skip this step if you have an existing project. Open your terminal and run the following commands:
npm create vite@latest web3modal-conflux-vue -- --template vue
cd web3modal-conflux-vue
npm install
Step 2: Install Web3Modal and WalletConnect
You need to install Web3Modal and the WalletConnect provider. Run:
npm install @web3modal/wagmi @wagmi/core @wagmi/connectors viem
Step 3: Setting Up Web3Modal
Create a new file named Web3ModalSetup.js in your project's src directory, and import the necessary modules to set up WalletConnect.
import { createWeb3Modal } from "@web3modal/wagmi/vue";

import { reconnect, http, createConfig } from "@wagmi/core";
import { confluxESpace } from "@wagmi/core/chains";
import { walletConnect, injected } from "@wagmi/connectors";

// 1. Define constants
const projectId = "YOUR_PROJECT_ID";
const metadata = {
  name: "Web3Modal",
  description: "Web3Modal Example",
  url: "https://web3modal.com", // origin must match your domain & subdomain
  icons: ["https://avatars.githubusercontent.com/u/37784886"],
};

const config = createConfig({
  chains: [confluxESpace],
  transports: {
    [confluxESpace.id]: http(),
  },
  connectors: [
    walletConnect({ projectId, metadata, showQrModal: false }),
    injected({ shimDisconnect: true }),
  ],
});

reconnect(config);
// 3. Create modal
createWeb3Modal({
  wagmiConfig: config,
  projectId,
  enableAnalytics: true, // Optional - defaults to your Cloud configuration
  enableOnramp: true, // Optional - false as default
});
Replace "YOUR_PROJECT_ID" with your actual project ID.
For details on how to obtain ProjectId, please refer to this article.
Make sure that the url from the metadata matches your domain and subdomain. This will later be used by the Verify API to tell wallets if your application has been verified or not.
Step 4: Using Web3ModalSetup in your Application
In your App.vue, import the web3ModalSetup instance and use it to connect to the wallet. Here’s how you can do it in your App.vue:
<script setup>
import HelloWorld from "./components/HelloWorld.vue";
import "./web3ModalSetup";
</script>

<template>
  <div>
    <a href="https://walletconnect.com" target="_blank">
      <img
        src="./assets/wallet-connect-logo.svg"
        class="logo"
        alt="WalletConnect Logo"
      />
    </a>
    <a href="https://confluxnetwork.org/" target="_blank">
      <img src="./assets/conflux-logo.svg" class="logo vue" alt="Conflux Logo" />
    </a>
  </div>
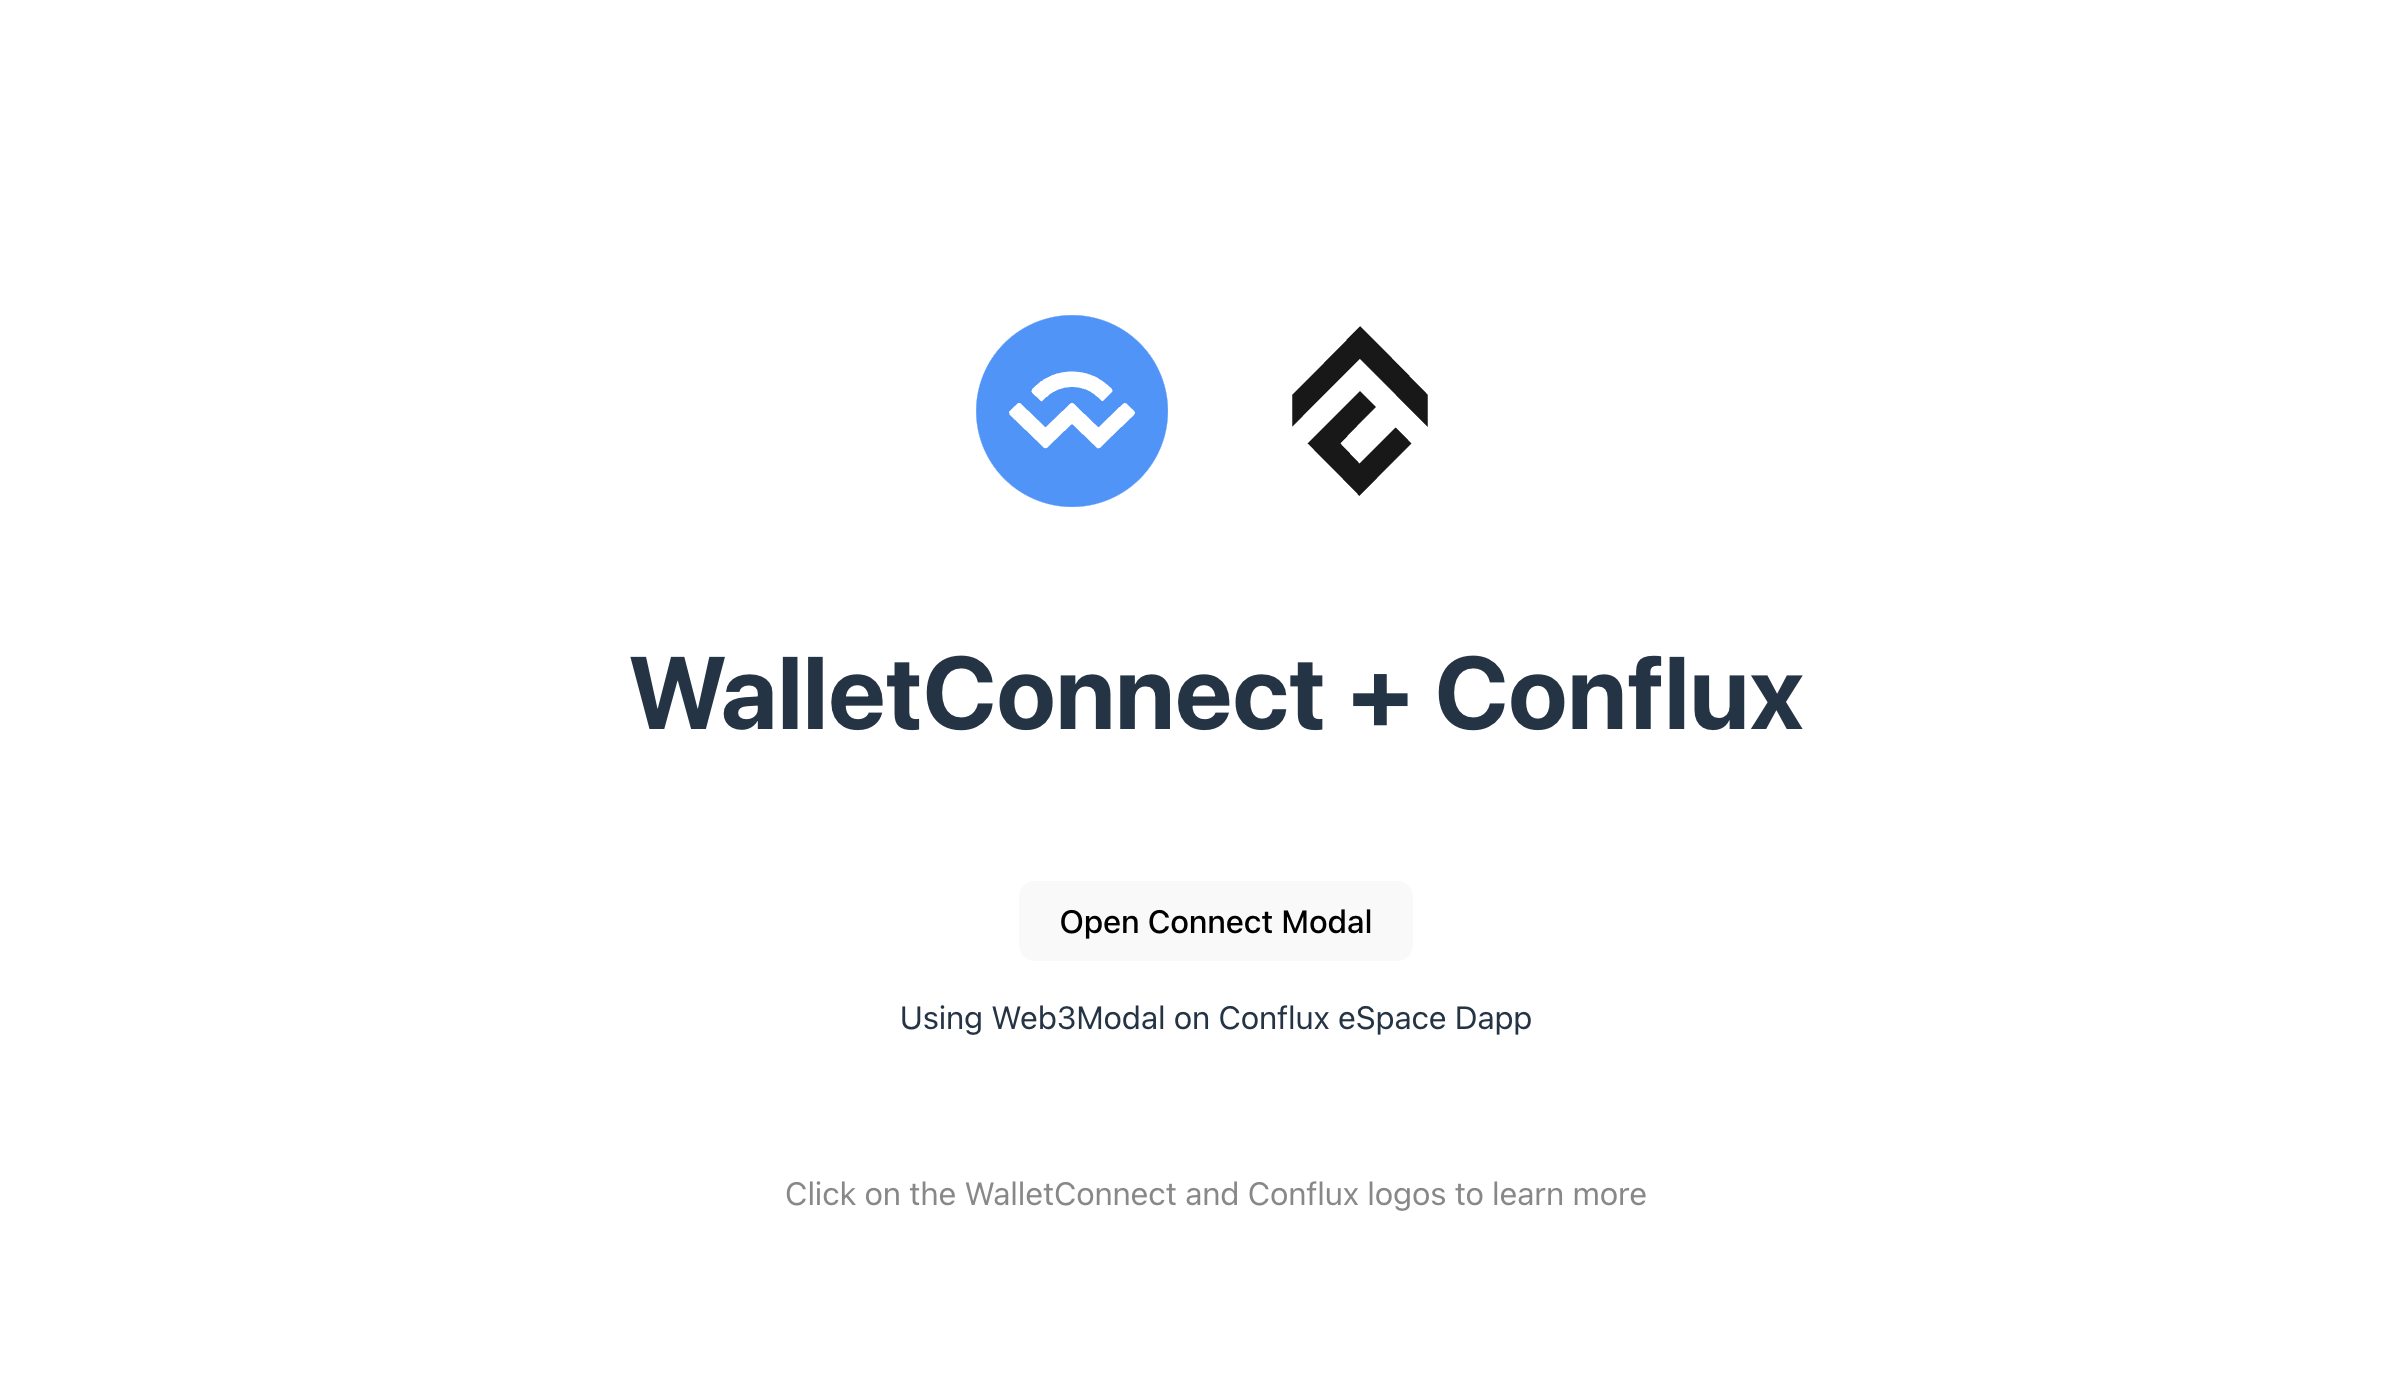
  <HelloWorld msg="WalletConnect + Conflux" />
</template>

...
Step 5: Connecting Conflux eSpace Network
Create a new component, ConnectWallet.vue, in your project, to open ConnectWallet Modal
<template>
  <div>
    <button @click="modal.open()">Open Connect Modal</button>
  </div>
</template>

<script setup>
import { useWeb3Modal } from "@web3modal/wagmi/vue";
// 4. Use modal composable
const modal = useWeb3Modal();
</script>

<style lang="scss" scoped>
</style>
In HelloWorld.vue or any other component, use the ConnectWallet component to connect to wallets on the Conflux eSpace
<script setup>
import { ref } from "vue";

import ConnectWallet from "./ConnectWallet.vue";

defineProps({
  msg: String,
});
const count = ref(0);
</script>

<template>
  <h1>{{ msg }}</h1>

  <div class="card">
    <ConnectWallet />
    <p>Using Web3Modal on Conflux eSpace Dapp</p>
  </div>

  <p class="read-the-docs">
    Click on the WalletConnect and Conflux logos to learn more
  </p>
</template>

<style scoped>
.read-the-docs {
  color: #888;
}
</style>
You now have a basic setup for integrating Web3Modal with WalletConnect in your Vue.js project using Vite. This setup allows users to connect their wallets from a Vue.js application, enabling interactions with Conflux eSpace.
